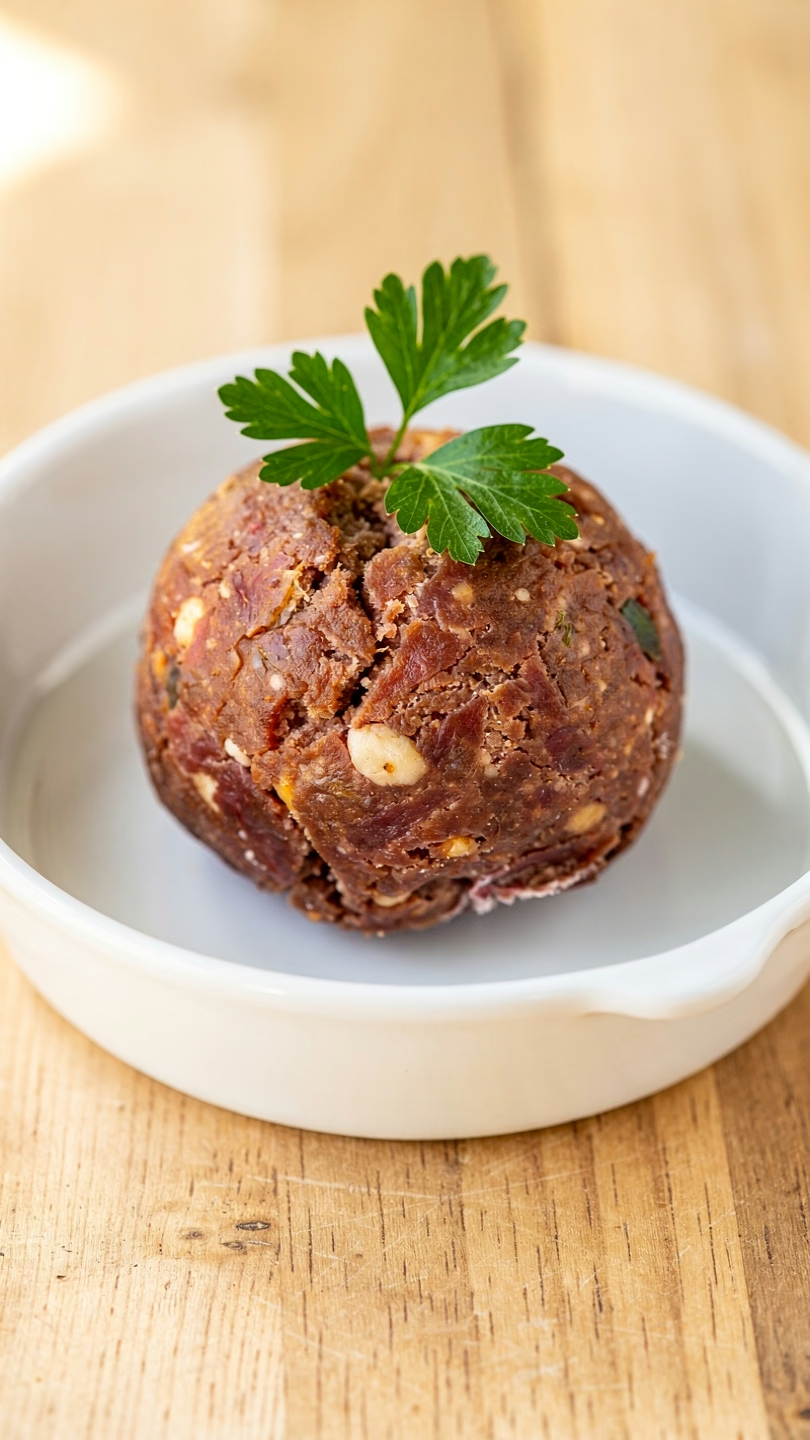
Best Dried Beef Cheese Ball Recipe – Easy Party Appetizer
If you are looking for the ultimate crowd-pleasing appetizer, a Dried Beef Cheese Ball is exactly what your party spread has been missing. Creamy, savory, and packed with bold flavor, this retro classic has made a well-deserved comeback on charcuterie boards and holiday tables everywhere. Whether you are hosting a casual game night or an elegant holiday gathering, this recipe delivers big flavor with minimal effort.
The combination of cream cheese, tangy ranch seasoning, and salty dried beef creates a flavor profile that is genuinely irresistible. Guests will hover around it with crackers in hand, and you will almost certainly be asked for the recipe before the night is over. The best part? You can make it a day ahead, leaving you free to focus on everything else.
What Makes This Recipe Special
- Incredibly simple to prepare: This Dried Beef Cheese Ball Recipe comes together with just a handful of pantry staples and about 15 minutes of hands-on work.
- Make-ahead friendly: The flavors actually deepen overnight in the fridge, making this one of those rare recipes that rewards patience.
- Universally loved: The savory, creamy combination of a Ranch Dressing Cheese Ball with dried beef appeals to nearly every palate, from kids to grandparents.
- Endlessly versatile: Dress it up with fresh herbs or keep it classic, this recipe adapts beautifully to whatever you have on hand.
What You’ll Need
- Cream cheese (16 oz, softened): The rich, creamy foundation of any great Basic Cheese Ball Recipe. Make sure it is fully softened for smooth mixing.
- Dried beef (2.5 oz jar, finely chopped): The star of the show. This thinly sliced, cured beef brings salty, savory depth that sets this apart from a standard cheese ball.
- Ranch dressing mix (1 packet, about 1 oz): Adds herby, garlicky flavor that ties everything together beautifully in this Ranch Dressing Cheese Ball.
- Green onions (3-4 stalks, thinly sliced): Brings a mild, fresh bite that balances the richness of the cream cheese.
- Worcestershire sauce (1 teaspoon): A small but mighty addition that adds umami depth to the Beef Cheese Ball Recipe.
- Garlic powder (1/2 teaspoon): Boosts the savory notes without overpowering the other flavors.
- Additional dried beef or chopped pecans (for rolling): The outer coating adds texture and makes the cheese ball look stunning on any serving board.
Using quality tools and fresh ingredients makes a noticeable difference when you are crafting something as hands-on as a cheese ball. The right mixing bowl and a sturdy spatula will save you time and give you a smoother, more cohesive result.
Here is the complete recipe:
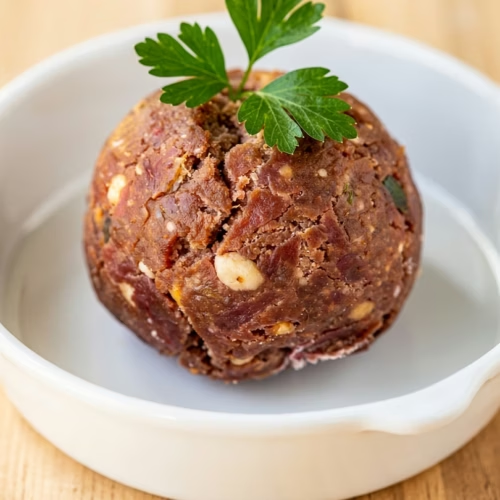
Dried Beef Cheese Ball
Equipment
- Large mixing bowl
- Hand mixer or sturdy spatula
- Plastic wrap
- Flat plate for rolling
Ingredients
- 16 oz cream cheese softened to room temperature
- 2.5 oz dried beef finely chopped, divided (reserve some for rolling)
- 1 packet ranch dressing mix about 1 oz
- 3 green onions thinly sliced
- 1 teaspoon Worcestershire sauce
- 1/2 teaspoon garlic powder
Instructions
- Remove the cream cheese from the refrigerator at least 1 hour before starting. It must be fully softened to ensure a smooth, lump-free mixture.
- Remove the dried beef from the jar, pat dry with a paper towel if needed, and finely chop into small, confetti-like pieces. Reserve about one-third of the chopped beef in a separate bowl for rolling the outside of the cheese ball.
- In a large mixing bowl, beat the softened cream cheese with a hand mixer or sturdy spatula until smooth and fluffy, about 2 minutes.
- Add the ranch dressing mix, Worcestershire sauce, garlic powder, sliced green onions, and the bulk of the chopped dried beef to the cream cheese. Stir until all ingredients are fully incorporated and evenly distributed throughout the mixture.
- Lay a large sheet of plastic wrap on your work surface. Scoop the cream cheese mixture onto the center of the wrap. Gather the edges up and twist together, pressing and shaping the mixture into a round ball. Twist the wrap tightly to secure the shape.
- Refrigerate the wrapped cheese ball for at least 2 hours, or overnight for best results. The chill time firms up the ball and allows the flavors to develop fully.
- Spread the reserved chopped dried beef on a flat plate. Unwrap the chilled cheese ball and gently roll it across the coating, pressing lightly so the pieces adhere evenly to all sides.
- Transfer the finished cheese ball to a serving board. Surround with crackers, sliced baguette, pretzel rods, or fresh vegetables. Serve immediately or refrigerate until ready to serve.
Notes
Make It Your Own
- Nut-crusted version: Roll the finished Dried Beef Cheeseball in finely chopped pecans or walnuts for a nutty crunch that pairs beautifully with the savory filling.
- Spicy kick: Add a pinch of cayenne pepper or a tablespoon of finely diced pickled jalapenos to the mix for a little heat.
- Herb garden twist: Mix in fresh dill, chives, or parsley for a brighter, more aromatic flavor profile.
- Mini cheese balls: Instead of one large ball, roll the mixture into bite-sized individual portions for a fun, grab-and-go party presentation.
How to Make Dried Beef Cheese Ball
- Prepare your dried beef: Remove the dried beef from the jar and pat it dry with a paper towel if needed. Stack the slices and finely chop them into small, uniform pieces. Set aside a generous handful for rolling the outside of the ball.
- Beat the cream cheese: Place the softened cream cheese in a large mixing bowl and beat it with a hand mixer or sturdy spatula until it is smooth and fluffy, about 2 minutes. This step is crucial for a lump-free result.
- Combine the filling ingredients: Add the ranch dressing mix, Worcestershire sauce, garlic powder, green onions, and the bulk of the chopped dried beef to the cream cheese. Stir everything together until fully incorporated and evenly distributed.
- Shape the cheese ball: Lay out a large sheet of plastic wrap on your counter. Scoop the mixture onto the center of the wrap, then gather the edges up and twist them together, pressing and shaping the mixture into a round ball as you go.
- Chill the mixture: Place the wrapped cheese ball in the refrigerator for at least 2 hours, or ideally overnight. This resting time helps it firm up and allows the flavors to meld.
- Roll the exterior: Spread your reserved chopped dried beef (or chopped nuts) on a flat plate. Unwrap the chilled cheese ball and gently roll it across the coating, pressing lightly to help it adhere on all sides.
- Serve immediately or refrigerate: Transfer to a serving board surrounded by crackers, sliced baguette, or fresh vegetables. Serve right away or return to the fridge until ready.
Expert Tips
- Soften the cream cheese properly: Cold cream cheese will not blend smoothly and you will end up with lumps in your Cheese Ball Dried Beef mixture. Leave it on the counter for at least an hour before starting.
- Chop the dried beef finely: Large pieces can make shaping difficult and create an uneven texture. Aim for small, confetti-like pieces throughout.
- Do not skip the chill time: This is one of the most common mistakes people make with Dried Beef Recipes. The chill step is not optional, it is what gives the cheese ball its structure and depth of flavor.
- Double the batch: This recipe scales up effortlessly. Making two at once is a great move for larger gatherings, and the second ball freezes well.
Chef’s Tip: For the cleanest presentation, roll the cheese ball in its coating right before serving rather than hours in advance. This keeps the exterior looking fresh and vibrant.
Serving Ideas
- Classic crackers: Buttery Ritz crackers, Triscuits, or water crackers are all fantastic vehicles for scooping up this savory spread.
- Fresh vegetables: Cucumber rounds, celery sticks, and bell pepper strips add a refreshing crunch alongside the richness of the cheese ball.
- Sliced baguette or crostini: Toasted bread rounds elevate the presentation and make this feel a little more upscale.
- As part of a charcuterie board: Nestle the cheese ball among cured meats, olives, pickles, and fruits for a stunning spread that qualifies as one of the truly yummy appetizers parties deserve.
- With pretzel rods: The salty crunch of pretzel rods makes them a surprisingly perfect pairing with this creamy, savory dip.
Make Ahead and Storage
- Refrigerating: Wrap the fully assembled cheese ball tightly in plastic wrap and store it in the refrigerator for up to 5 days. The flavor actually improves on day two.
- Freezing: You can freeze the cheese ball before rolling it in the exterior coating. Wrap it in plastic wrap, then in aluminum foil, and freeze for up to one month. Thaw overnight in the fridge before rolling and serving.
- Storage containers: For storing leftovers after serving, press plastic wrap directly against any exposed surface to prevent drying out.
- Do not freeze after rolling: Once the exterior coating has been applied, freezing is not recommended as the texture of the coating can become soggy upon thawing.
Frequently Asked Questions
Can I use a different type of cured meat instead of dried beef?
Absolutely. Finely chopped prosciutto, salami, or even crumbled cooked bacon work wonderfully in this recipe. Each brings its own unique flavor twist to the classic Dried Beef Cheese Ball.
How far in advance can I make this cheese ball?
This recipe is ideal for making 1 to 2 days ahead of your event. Simply keep it wrapped in the fridge and add the outer coating right before serving for the best appearance.
Can I make this recipe without ranch dressing mix?
Yes. You can substitute a blend of garlic powder, onion powder, dried dill, dried parsley, and a pinch of salt to approximate the ranch flavor profile without the packet.
Where do I find dried beef in the grocery store?
Dried beef is typically sold in small glass jars and can be found in the canned meat aisle near products like Spam or canned tuna. Brands like Armour are widely available at most major grocery chains.
Final Thoughts
This Dried Beef Cheese Ball is the kind of recipe that earns a permanent spot in your entertaining rotation. It is simple enough for a weeknight snack and impressive enough to anchor your holiday appetizer spread. Once you make it, you will understand why this classic has stood the test of time. Grab your crackers, gather your people, and get ready for an appetizer that truly delivers.


